I’ve mainly documented this with a video, and that’s here:
I think the video took longer than the work on the van, but I guess I’m learning a load of stuff each time… The video turned out a bit on the long side, and really could have been split down a bit, and certainly shortened.
In summary I’ve sorted out some lighting and a better microphone and camera setup (re-purposing my trusted Canon 7D) – and so I think the general quality of the videos should gradually improve.
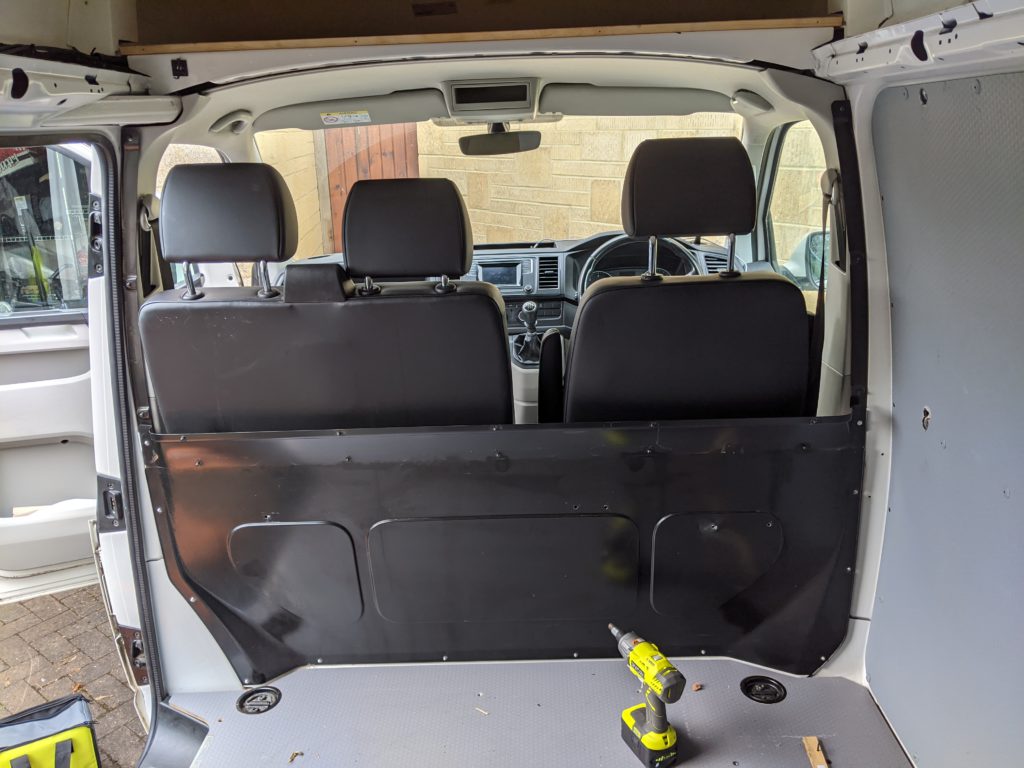
So, I’ve stripped out:
- The panels
- The plywood floor and cable strap tie points
- The metal bulkhead between the cab and the cargo area
- The bulkhead brackets
To allow me to fit a swivel seat on the passenger side, I had to move some of the electrics, then I could remove the passenger chair. The operation was repeated on the drivers seat.
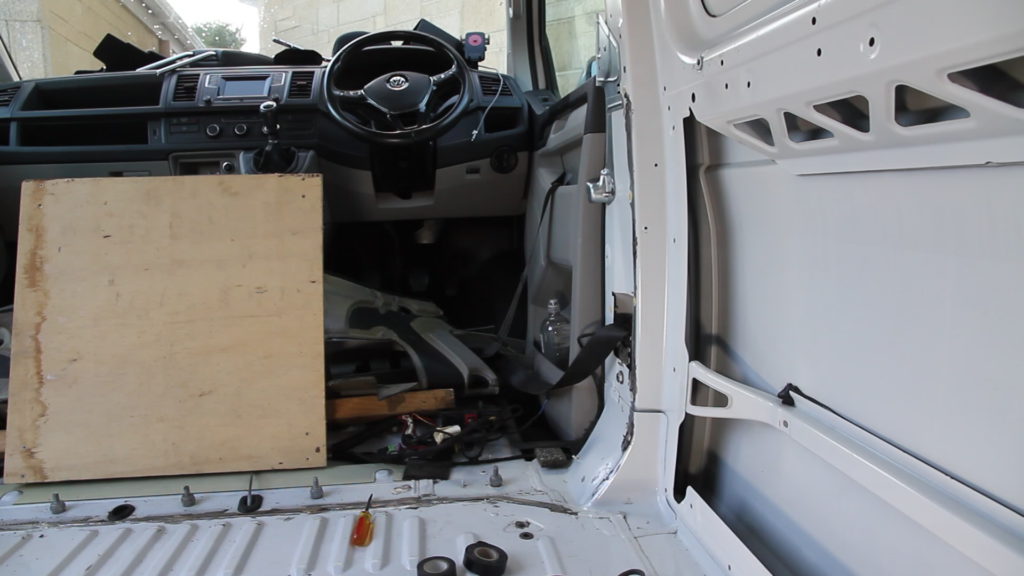
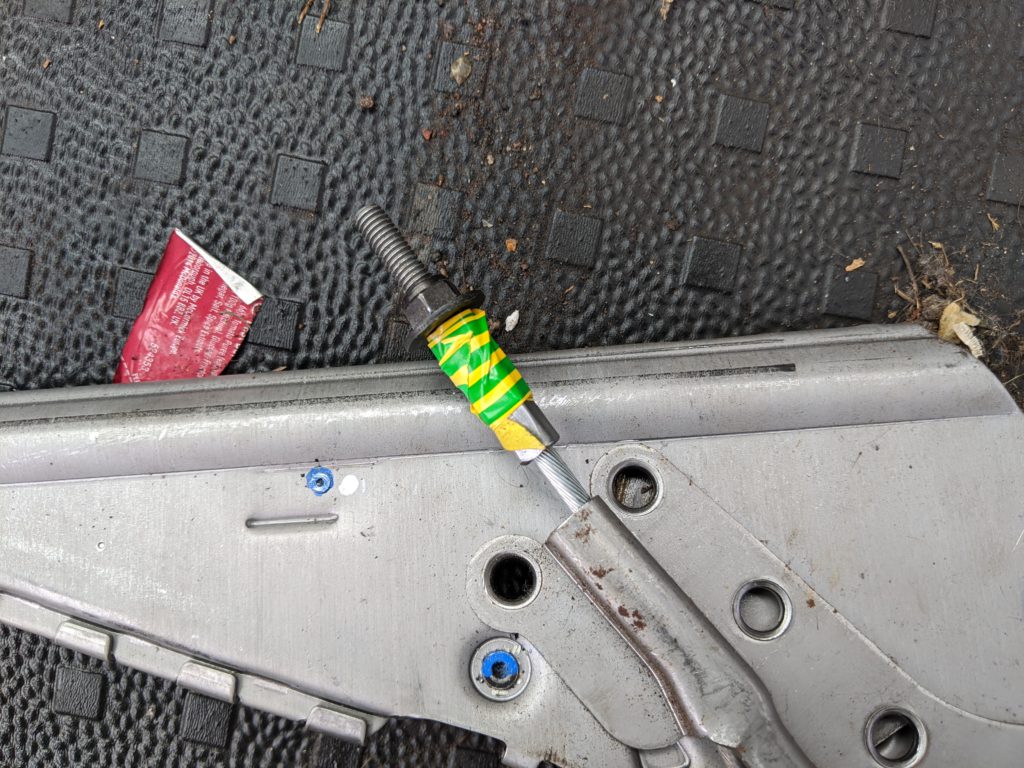
Once I had the seats out I removed the handbrake, and in fact one thing I didn’t show in the video was this little bit of tape. As I had to disconnect the handbrake I wanted to make sure I knew where the adjusting nut should be…
Following that it was a case of stripping out the trim around the door pillars so that I could get in and grind out the bottom bracket. This meant disconnecting the seat belts – best make sure I put them back properly. I was careful to tape over the seat belt recesses…
After much grinding and sanding, I painted over the bare metal with some anti-rust paint (Hammerite).
I moved some of the cables over under the drivers seat, so that involved unwrapping and re-wrapping them. I managed to find some cloth tape for this, which produces a much nicer result than insulation tape.
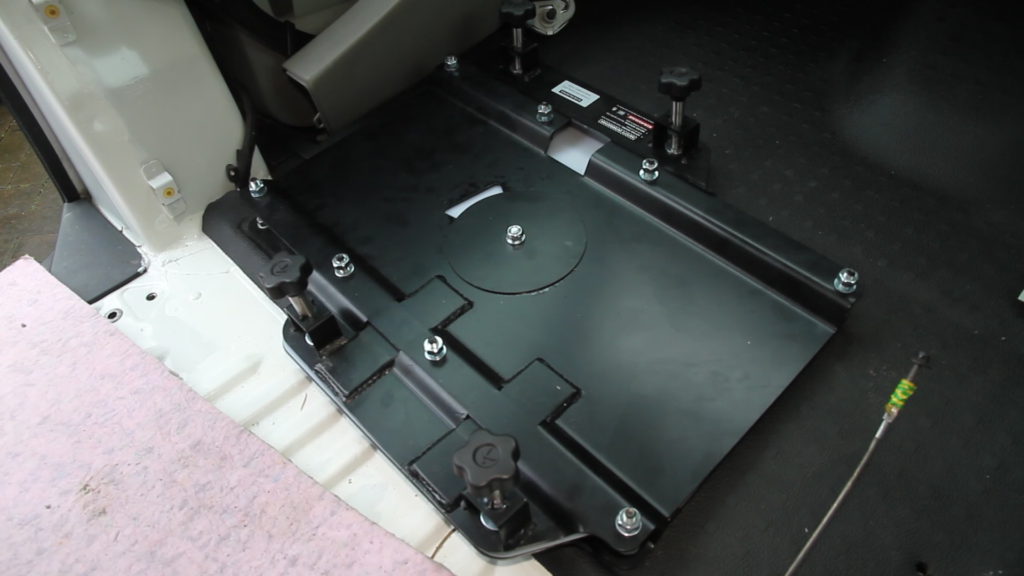
With all that done, I fitted the swivel base.
I’ve held off putting everything else back in until I’ve done the windows and the roof rack. Roof rack is next….